

Creating smart, responsive characters that move naturally through your game world is a cornerstone of immersive gameplay. Unity’s AI Navigation 2.0 system offers a powerful and scalable solution for intelligent pathfinding using NavMesh technology. In this comprehensive tutorial, we’ll walk through setting up NavMesh surfaces, configuring agents, linking animations, and customizing navigation for multiple character types — all within the latest Unity 6 environment.
Whether you’re prototyping quickly with tools like ProBuilder or refining your environment with detailed modifiers, this guide will help you master AI navigation fundamentals and elevate your game development workflow.
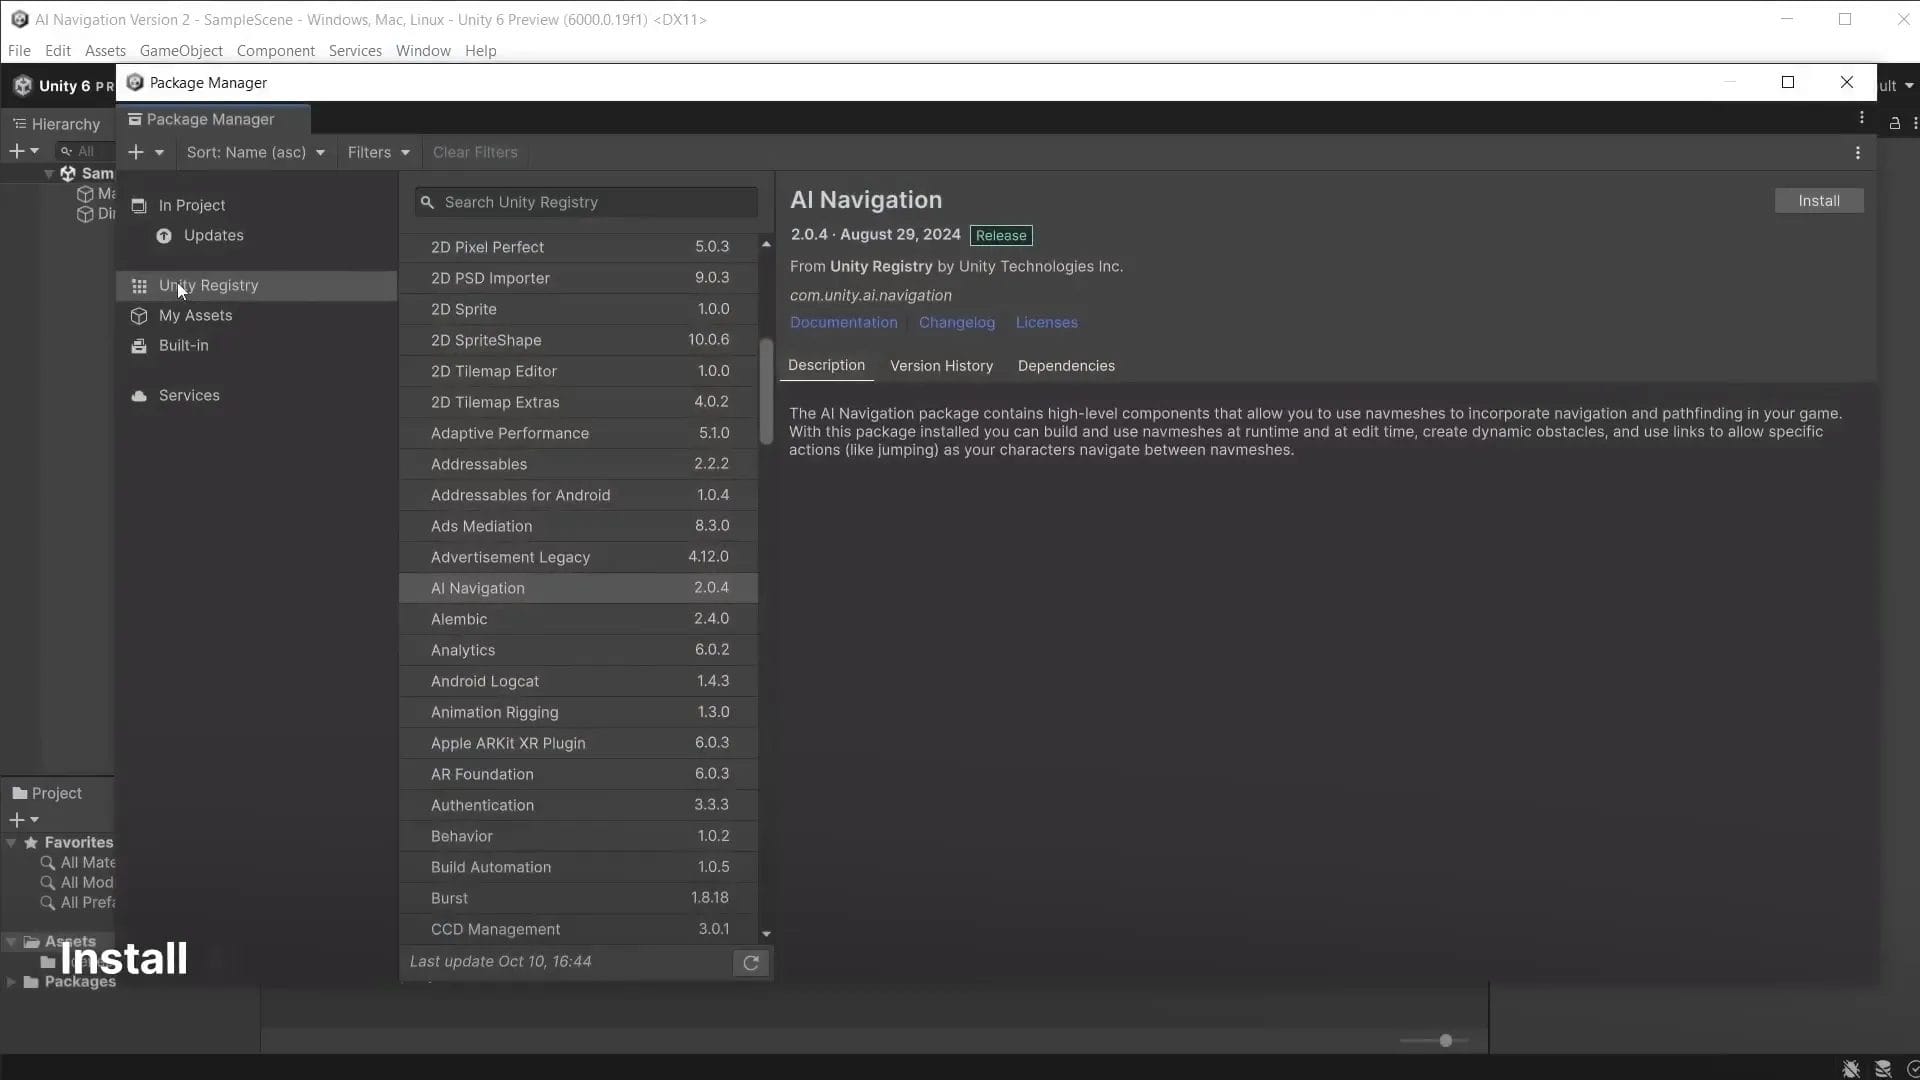
Step 1: Installing the AI Navigation 2.0 Package 📦
To get started, open the Package Manager in Unity and navigate to the Unity Registry. Search for AI Navigation and install version two, which brings updated features and improvements over previous releases.
Additionally, install the accompanying samples package. These samples include useful scenes and scripts that demonstrate how the system works, making it easier to follow along and integrate into your own projects.
If you want to replicate the examples in this tutorial, be sure to download the assets linked in the resources section below.
Step 2: Baking Your First NavMesh Surface 🗺️
NavMesh surfaces define the walkable areas in your scene by automatically generating navigation meshes from the environment’s geometry. Unlike older Unity versions, you no longer bake NavMesh data from a separate window. Instead, baking is handled by the NavMesh Surface component, which you add via GameObject > AI > NavMesh Surface.
This component allows for multiple NavMesh surfaces in one scene, each customizable for different agent types. Importantly, objects in the scene no longer need to be marked as static — by default, all geometry is detected for navigation baking.
After adding the component, click Bake to create the navigation mesh. If you don’t see the blue NavMesh overlay in the Scene view, enable it by clicking the AI Navigation overlay button and toggling Show NavMesh Surface. Make sure gizmos are turned on for visibility.
Step 3: Understanding Agent Settings and Navigation Parameters ⚙️
Each AI character interacts with the NavMesh through a NavMesh Agent component. This agent defines how the character moves, including parameters like:
- Step Height: Controls the maximum height of obstacles the agent can step over. Lowering this value during baking prevents characters from climbing steps.
- Max Slope: Defines the steepest angle the agent can traverse. Setting it to zero restricts movement to flat surfaces only.
- Radius: Determines the agent’s collision buffer from obstacles. Larger radii prevent movement through narrow spaces like tight doorways.
Adjusting these parameters and rebaking the NavMesh allows precise control over where and how your AI characters navigate.
Step 4: Linking Animations to AI Movement 🎬
To bring your AI characters to life, you’ll want to synchronize their animations with navigation movement. Start by creating an Animator Controller with states for idle and running animations. Add a Boolean parameter named running to control transitions between these states.
Attach the animator controller to your character and disable Apply Root Motion because movement will be driven by the NavMesh agent, not the animation itself.
Next, use the ClickToMove script from the AI Navigation samples as a base movement controller. Modify the script to:
- Reference the Animator component.
- Check the agent’s velocity each frame to determine if the character is moving.
- Set the running parameter to
truewhen moving andfalsewhen idle. - Use the
OnAnimatorMovefunction to match the agent’s speed to the animation speed dynamically.
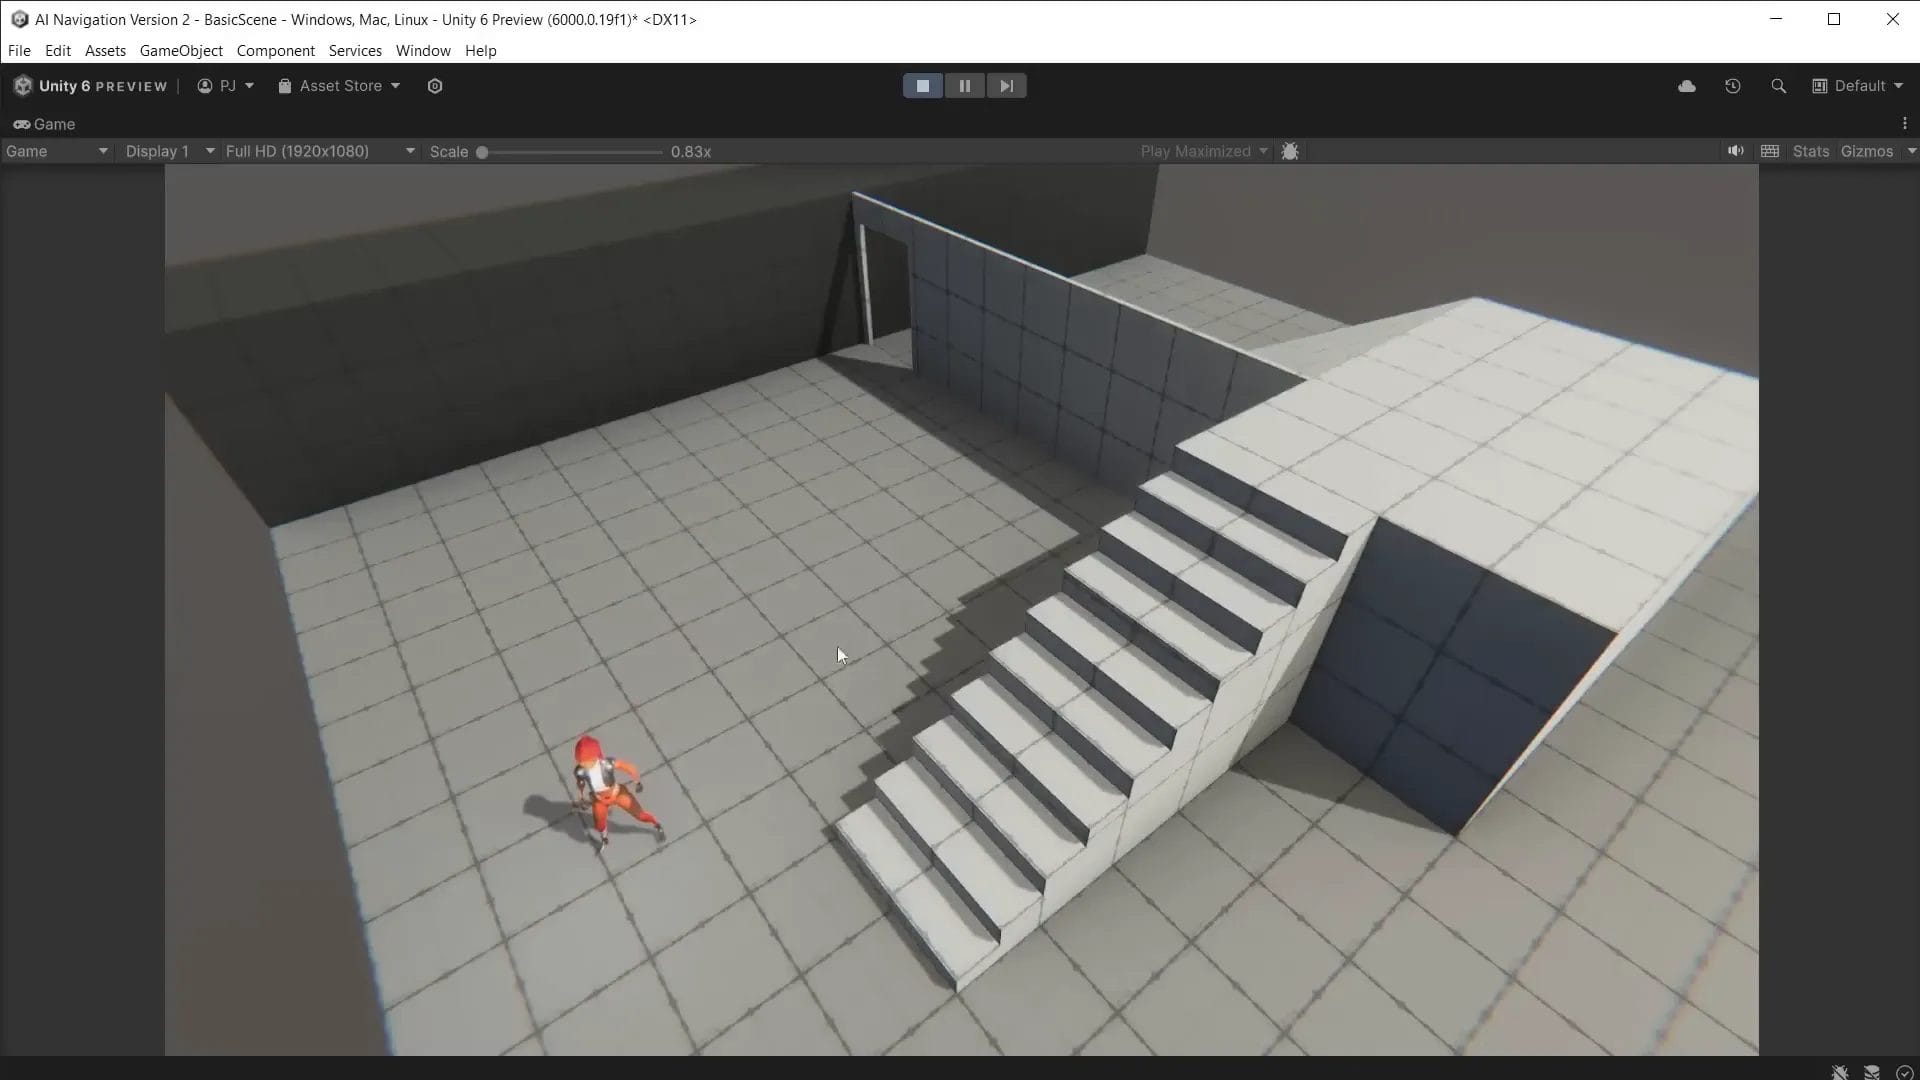
Now, when you click within the game, your character will run smoothly to the target location, with animations perfectly synced to movement speed and rotation.
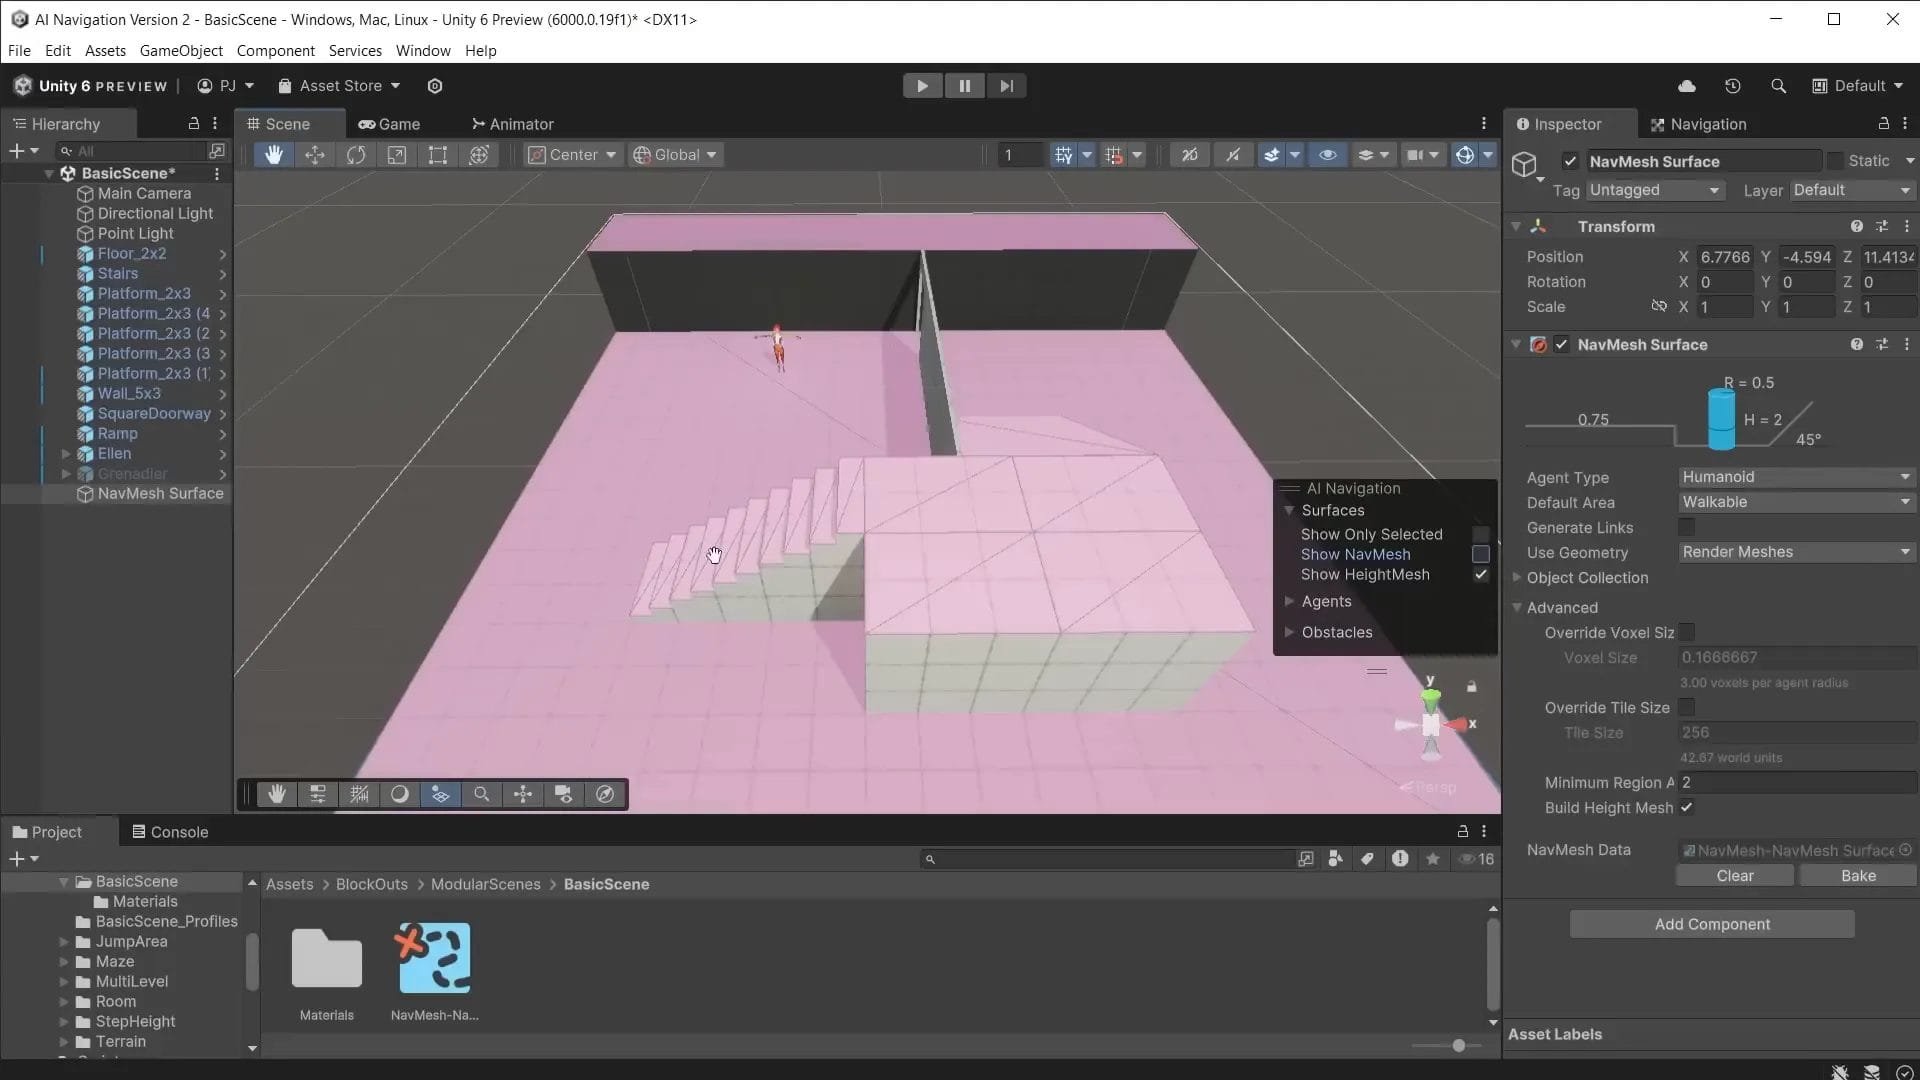
Step 5: Baking Height Mesh for Vertical Movement ⛰️
Sometimes your characters need to respond to changes in elevation, such as moving up and down steps realistically. To achieve this, enable the Build Height Mesh option found under the Advanced settings of the NavMesh Surface component.
After rebaking, a pink height mesh appears alongside the blue NavMesh, informing the agent about height differences in the environment. This allows characters to move vertically with accurate step recognition instead of treating steps like ramps.
Step 6: Managing Multiple Agent Types for Diverse Characters 👥
When working with characters of different sizes, such as a smaller “Ellen” and a larger “Grenadier,” you need to create separate agent types in the Navigation window. Adjust parameters like radius, height, step height, and max slope to fit each character’s physical dimensions.
Assign the appropriate agent type to each character’s NavMesh Agent component to ensure accurate pathfinding and movement.
For the Grenadier, create a new animator controller with walk and attack animations. Use an attack Boolean parameter to transition between these states based on proximity to the target.
Additionally, implement a custom AI Target script that:
- Calculates the distance between the Grenadier and Ellen.
- Stops movement and triggers attack animation when within attack range.
- Resumes movement and walking animation when outside attack range.
This setup enables dynamic chasing and attacking behavior while respecting navigation constraints like doorways and stairs, forcing the AI to find alternate routes.
Step 7: Debugging and Visualizing Navigation Paths 🕵️♂️
Unity’s AI Navigation system provides debugging options to visualize:
- Path polygons
- Path query nodes
- Avoidance
Enable these in the AI Navigation overlay during play mode with a character selected. This reveals debug lines illustrating the A* pathfinding process in real time, helping you understand how your agents navigate complex environments.
Step 8: Using NavMesh Modifiers for Precision Control 🎯
To fine-tune what areas are walkable or blocked, apply the NavMesh Modifier component to specific objects. This lets you:
- Mark objects as Not Walkable to cut them out from the NavMesh (e.g., walls or cliffs).
- Set objects to Remove mode to ignore them completely, allowing characters to walk through (e.g., grass or foliage).
- Restrict NavMesh baking to only objects with modifiers by setting the NavMesh Surface’s Collect Objects to NavMesh Modifier Component Only.
This approach is invaluable when transitioning from blockout scenes to detailed environments, ensuring AI navigation behaves realistically around organic shapes and complex geometry.
Step 9: Defining Volume-Based NavMesh Surfaces for Area Restriction 📦
Sometimes you want to constrain AI movement to a specific area, such as a platform or room. Create a new NavMesh Surface object and set Collect Objects to Volume. Then define the bounding volume within which the NavMesh will be baked.
This technique limits the walkable area, perfect for scenarios where characters should stay confined to certain zones.
Conclusion
Unity’s AI Navigation 2.0 system introduces a flexible, robust framework for creating intelligent AI characters that navigate your game worlds with ease. By following these steps—from installing the package and baking NavMesh surfaces to customizing agents, linking animations, and applying modifiers—you’ll be equipped to build dynamic, responsive NPCs that enhance player immersion.
In future explorations, you can expand this foundation with NavMesh links for jumping, baking onto vertical surfaces, dynamic updates for interactive doors, and scripting advanced AI behaviors like losing sight of targets.
Start experimenting today by combining these techniques and watch your game worlds come alive with smart, believable AI movement.
Frequently Asked Questions (FAQ) ❓
What is a NavMesh in Unity?
A NavMesh (Navigation Mesh) is a polygonal representation of the walkable surfaces in your game environment. It is automatically generated from scene geometry and used by AI agents to plan paths and avoid obstacles efficiently.
How do I bake a NavMesh surface in Unity 6?
Instead of baking from a separate window, you add a NavMesh Surface component to a GameObject via GameObject > AI > NavMesh Surface. Configure the settings and then click Bake to generate the navigation mesh.
Can multiple characters with different sizes use the same NavMesh?
Yes, but you need to create multiple agent types with parameters matching each character’s size. Then bake separate NavMesh surfaces for each agent type to ensure accurate navigation.
How can I make AI characters use animations while moving?
Create an Animator Controller with movement states and parameters. Link the animator to your character, then modify your movement script to toggle animation parameters based on the NavMesh agent’s velocity. Use OnAnimatorMove to synchronize movement speed.
What are NavMesh Modifiers and why should I use them?
NavMesh Modifiers allow you to include or exclude specific objects from the navigation mesh during baking. They provide fine control over walkable areas, letting you block off obstacles or allow passage through certain objects like grass.
Where can I find more resources and sample assets?
- 3D GameKit Character Pack
- 3D GameKit Environment Pack
- Blockouts Unity Package
- Unity AI Navigation Manual
This article was created from the video AI Navigation 2.0 – NavMesh basics with the help of AI.

Game Developer | Designer | Creative Storyteller
Matt Dogherby is a passionate game developer and designer based in Brisbane, Australia. With a career spanning over 15 years, Matt combines technical skill with a deep love for storytelling to create games that captivate and inspire. His unique perspective is shaped by the laid-back energy of Brisbane and his lifelong connection to the ocean, where he often trades coding sessions for surf sessions.


